WordPress Publishing: A Complete Workflow Guide
Publishing in WordPress sounds simple: write something, click a button, and it goes live. But anyone who has managed a real content operation knows the gap between "clicking Publish" and running a reliable, repeatable publishing system is where teams stall.
This guide covers the mechanics of WordPress publishing—pages, posts, statuses, scheduling—and then goes a step further. You will learn how to build a workflow that keeps quality consistent, reduces manual bottlenecks, and scales without turning your editorial calendar into a full-time job.
What WordPress Publishing Actually Means
WordPress Publishing: A Complete Workflow Guide - What WordPress Publishing Actually Means.
In WordPress, publishing means making a piece of content publicly accessible to visitors. A published page or post has the status Published, which tells WordPress to render it at its assigned URL.
WordPress separates content into two main types:
- Posts: Time-based entries, typically used for blogs, news, and articles. Posts appear in reverse chronological order on your blog index and can be organized with categories and tags.
- Pages: Static, timeless content such as an About page, contact page, pricing page, or landing page. Pages do not use categories or tags by default and sit outside the chronological blog stream.
The publishing mechanics are nearly identical for both. The difference is how you plan, structure, and schedule them within your broader content strategy.
How to Publish a Page or Post in WordPress
WordPress Publishing: A Complete Workflow Guide - How to Publish a Page or Post in WordPress.
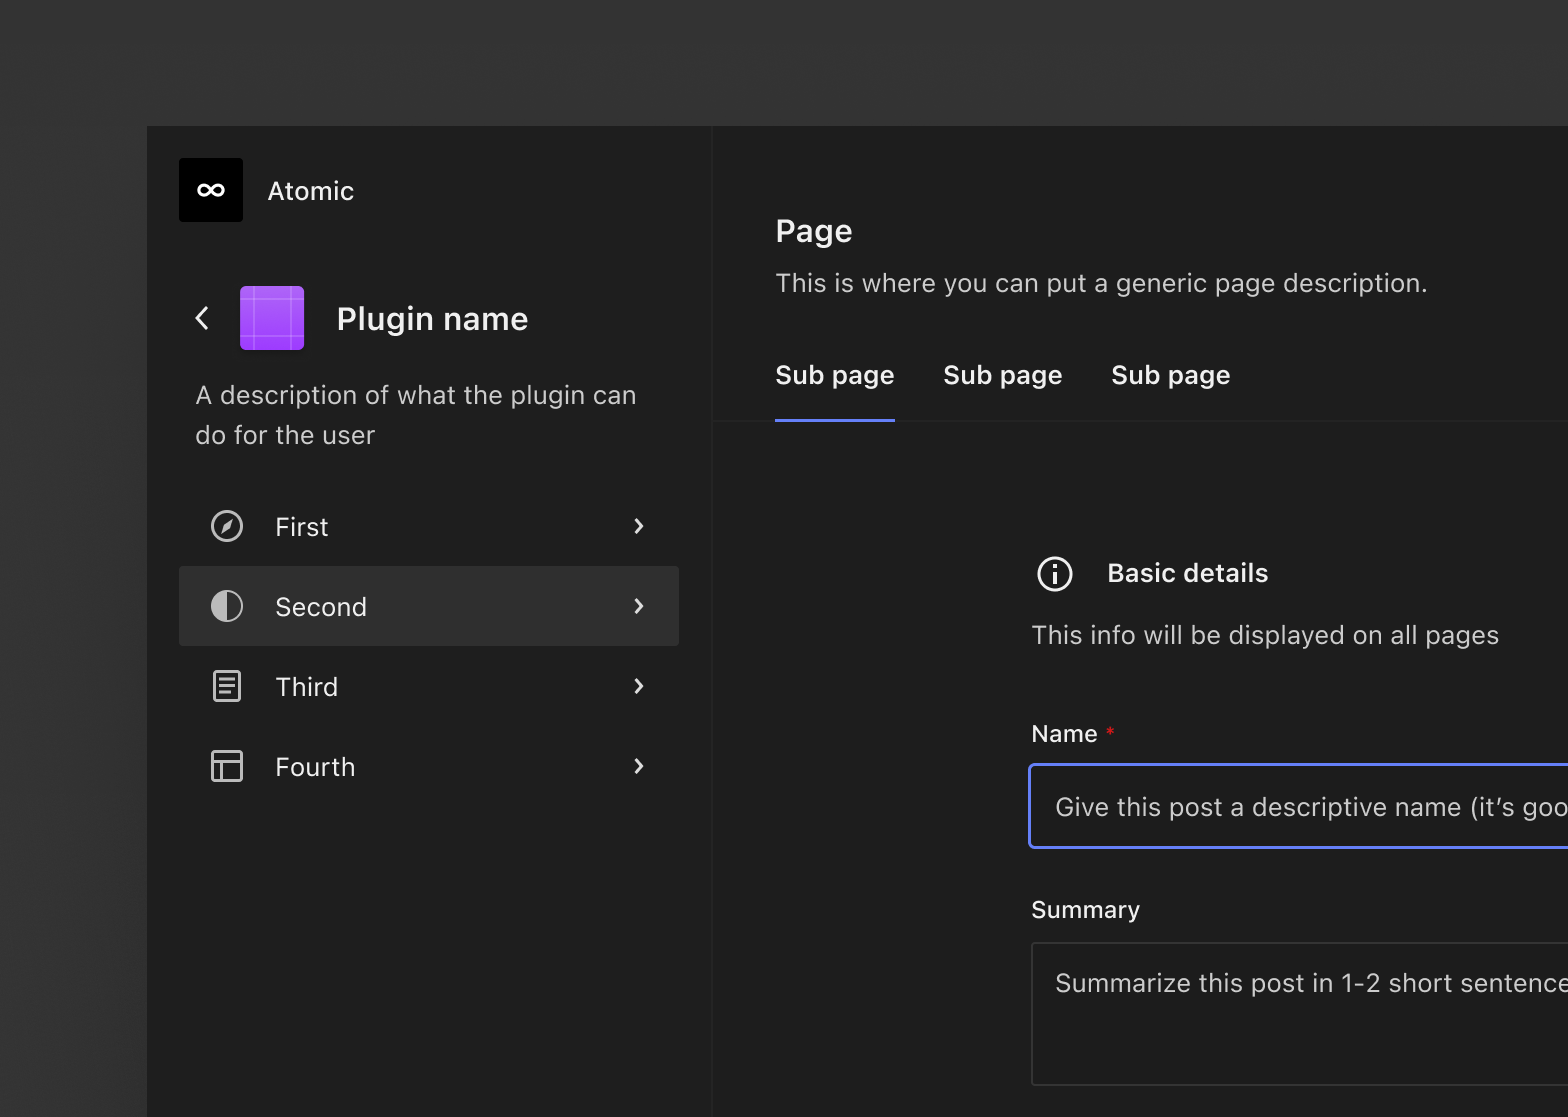
If you are new to WordPress, here is the core flow using the block editor.
Step 1: Open the Editor
Log in to your WordPress dashboard. From the left-hand navigation sidebar, click Pages or Posts, depending on what you want to publish. Hover over the item you want to edit and click Edit, or click the title to open it in the block editor.
Step 2: Review Your Content
The block editor shows your content exactly as it will appear on the front end. Use this opportunity to check headings, images, links, and formatting. The editor updates the preview in real time as you add, edit, or rearrange blocks.
Step 3: Click Publish
In the upper right corner, you will see a blue Publish button. Clicking it opens a small settings panel where you can confirm visibility, set a publish date, and add tags if you are working with a post. Click Publish again to confirm, and the content goes live.
Alternative: Quick Edit
For faster status changes, hover over a page or post in the list view and click Quick Edit. Locate the Status dropdown and change it from Draft to Pending Review or Published. Click Update to save. This method is handy when you need to flip multiple items live without opening the full editor.
WordPress Publishing Statuses Explained
WordPress Publishing: A Complete Workflow Guide - WordPress Publishing Statuses Explained.
Understanding statuses is the foundation of any editorial workflow. WordPress includes several built-in statuses:
| Status | What It Means | Typical Use |
|---|---|---|
| Draft | Saved but not visible to visitors | Work in progress |
| Pending Review | Awaiting editor approval | Assignments ready for review |
| Scheduled | Set to publish at a future date/time | Planned launches |
| Published | Live and publicly accessible | Finished content |
| Private | Visible only to logged-in users with permission | Internal notes, client previews |
| Password Protected | Requires a password to view | Gated previews, exclusive content |
Using statuses deliberately—rather than leaving everything as a draft until the last second—is what separates a chaotic publishing process from a controlled one.
Building a Repeatable WordPress Publishing Workflow
WordPress Publishing: A Complete Workflow Guide - Building a Repeatable WordPress Publishing Workflow.
The Publish button is the last step, not the first. A reliable workflow includes everything that happens before and after that click.
1. Plan Topics Before You Write
Publishing consistently requires a topic pipeline. Without one, you will hit the classic content stall: you publish a few strong pieces, then run out of ideas and go silent for weeks.
A simple fix is to keep a running list of topics tied to customer questions, product features, and search demand. For teams that want this handled automatically, platforms like AgentBooks map your market and plan topics continuously, so the pipeline never empties.
2. Draft with Brand Context
Every writer—human or AI—needs context. What is your product? Who is your audience? What tone do you use? What claims can you make? Without a shared brief, drafts drift, and editors spend hours fixing voice and accuracy.
AgentBooks addresses this with brand intelligence that extracts product knowledge from your website and applies it to every piece of content. The result is drafts that already sound like you before a human editor ever touches them.
3. Review in Stages
Do not let a draft jump straight from first version to published. A simple two-stage review works for most teams:
- Stage 1: Accuracy and structure. Does the content answer the question? Are headings logical? Are facts correct?
- Stage 2: Voice and polish. Does it read naturally? Are transitions smooth? Is the formatting clean?
Use the Pending Review status to signal that a draft is ready for editorial eyes. This creates a clear handoff point instead of relying on chat messages or spreadsheets.
4. Schedule for Consistency
Consistency matters more than frequency. Publishing three posts every week for a year beats publishing ten posts in one burst followed by silence.
WordPress lets you schedule any post or page for a future date and time. In the publish settings panel, set the date, and WordPress will handle the rest. This is especially useful for:
- Batching content creation on one day and spreading publication across the week
- Aligning launches with time zones or campaign dates
- Maintaining a steady cadence during vacations or busy periods
5. Audit and Update After Publishing
Publishing is not the finish line. Search rankings shift, products change, and content decays. Schedule periodic audits of your published posts to refresh outdated information, fix broken links, and consolidate thin pages.
Common WordPress Publishing Mistakes
Publishing Without a Pre-Flight Checklist
A simple checklist prevents embarrassing errors. Before clicking Publish, verify:
- Title and meta description are set
- Featured image is assigned
- Internal links point to the right URLs
- Categories and tags are correct
- Permalink is clean and descriptive
- Content displays correctly on mobile
Ignoring the Difference Between Posts and Pages
Using a page when you need a post—or vice versa—creates structural problems later. If you want content to appear in your blog feed, use posts. If you want a permanent, standalone resource, use pages.
Treating Publishing as a One-Person Bottleneck
When one person must review, format, and publish every piece, that person becomes the ceiling on your output. Build a workflow where drafting, reviewing, and publishing are separate steps that can be handled by different people—or automated where appropriate.
Publishing Without a Topic Pipeline
The most common failure mode is not a technical error. It is running out of things to say. Teams that rely on inspiration publish sporadically. Teams that rely on a system publish consistently.
Scaling WordPress Publishing Without Losing Quality
At some point, manual publishing hits a wall. You can only write, review, and schedule so many pieces per week. The question is how to scale output without sacrificing the brand voice and accuracy that made your content worth reading in the first place.
This is where content automation becomes relevant. A practical guide to content automation breaks down how automation works across the content lifecycle—from research and drafting to publishing and updating—and where it genuinely helps versus where it creates risk.
For WordPress specifically, an autonomous content platform like AgentBooks changes the publishing equation. Instead of starting from a blank editor for every piece, you get:
- Continuous topic planning based on your market and organic search results
- Brand-consistent drafts that reflect your product knowledge and voice
- Approval-first or autopilot workflows so you control how much human review happens before publishing
- Custom domain hosting so published content lives exactly where you want it
The goal is not to remove humans from publishing. It is to remove the repetitive parts—topic research, first drafts, formatting, scheduling—so humans spend their time on strategy, review, and high-value edits.
WordPress Publishing: Manual vs. Automated Workflow
| Factor | Manual Workflow | Automated Workflow |
|---|---|---|
| Topic ideation | Brainstorming sessions, keyword tools | Continuous market and search mapping |
| Drafting | Writer starts from blank page | Brand-aware drafts generated automatically |
| Review | Editor reads every word from scratch | Editor reviews polished drafts, approves or requests changes |
| Publishing | Manual scheduling per post | Scheduled or autopilot publishing on a set cadence |
| Scaling | Limited by team bandwidth | Scales with your publishing goals |
Neither approach is universally better. Small sites with low publishing volume may never need automation. But teams that want to publish weekly or daily without hiring a full editorial staff will find that automation is the difference between a content engine and a content trickle.
Related reading
- AI Content Score: What It Means and How to Use It - Learn what an AI content score actually measures, how detectors calculate percentages, what thresholds matter, and how to use scores without making bad decisions.
- AI Content Writer: How to Choose and Use One Effectively - Learn what an AI content writer can and cannot do, how to evaluate tools, and how to build a repeatable workflow that produces useful, search-ready posts.
- How to Use AgentBooks: A Practical Setup Guide - Learn how to use AgentBooks step by step, from connecting your website and reviewing your brand brief to approving topics and publishing content on autopilot.
Sources and further reading
- Blog Tool, Publishing Platform, and CMS - WordPress.org - Open source software which you can use to easily create a beautiful website, blog, or app.
- Guide to Publishing a WordPress Page or Post - HostGator - Publishing your site · Click on the Publish button at the top right corner of your WordPress workspace area. A small window of additional settings will appear.
- Publish a Page in WordPress - Northwest Registered Agent - Publishing a page in WordPress means making a page go live. Let's go over how to publish a page in WordPress.
Frequently Asked Questions
What is the difference between publishing a post and a page in WordPress?
Posts are time-based entries that appear in your blog feed and support categories and tags. Pages are static, standalone resources like About or Contact pages. The publishing mechanics are the same, but the strategic use differs.
Can I schedule a WordPress post to publish later?
Yes. In the publish settings panel, set a future date and time, then click Schedule. WordPress will automatically publish the content at that moment without any further action from you.
What does Pending Review mean in WordPress?
Pending Review is a status that signals a draft is ready for an editor to evaluate. The content is not visible to the public until an editor changes the status to Published.
How do I unpublish a WordPress page or post?
Open the item in the editor, click the status dropdown in the publish settings panel, and switch it back to Draft. The content will no longer be publicly accessible, though the URL may still resolve depending on your permalink settings.
Can I automate WordPress publishing?
Yes. WordPress supports scheduled publishing natively, and external tools can push content to WordPress via its REST API. Platforms like AgentBooks can publish directly to a custom domain on a schedule or through an approval-first workflow, depending on your preferences.
How often should I publish on WordPress?
Consistency matters more than raw frequency. A sustainable weekly cadence that you can maintain for a year outperforms an aggressive daily schedule that collapses after a month. Start with what your team can sustain, then scale with automation if you want to increase output.
Conclusion
WordPress publishing is more than clicking a blue button. It is a system: topic planning, drafting with brand context, staged review, scheduled publication, and ongoing updates. The teams that publish successfully are not necessarily the ones with the most writers—they are the ones with the clearest workflows.
Start with the basics: understand statuses, use the block editor confidently, and build a pre-flight checklist. Then, as your publishing goals grow, consider where automation can remove bottlenecks without sacrificing quality. Tools like AgentBooks exist precisely for this transition—turning a manual publishing process into an always-on content engine that keeps your WordPress site fresh, useful, and discoverable.
For a deeper look at building the team and systems behind consistent publishing, see our guide on how to build an AI content team that compounds.