
How to Use Machined: A Practical Beginner's Guide
Machined parts and tools show up everywhere—from a CNC-milled bracket in a workshop to a precision component inside a product you use daily. If you are new to them, the first question is usually simple: how do you actually use them correctly? This guide walks through setup, safe operation, inspection, and maintenance, with practical examples you can apply in a garage, a small shop, or a digital workflow.
What "Machined" Means in Practice
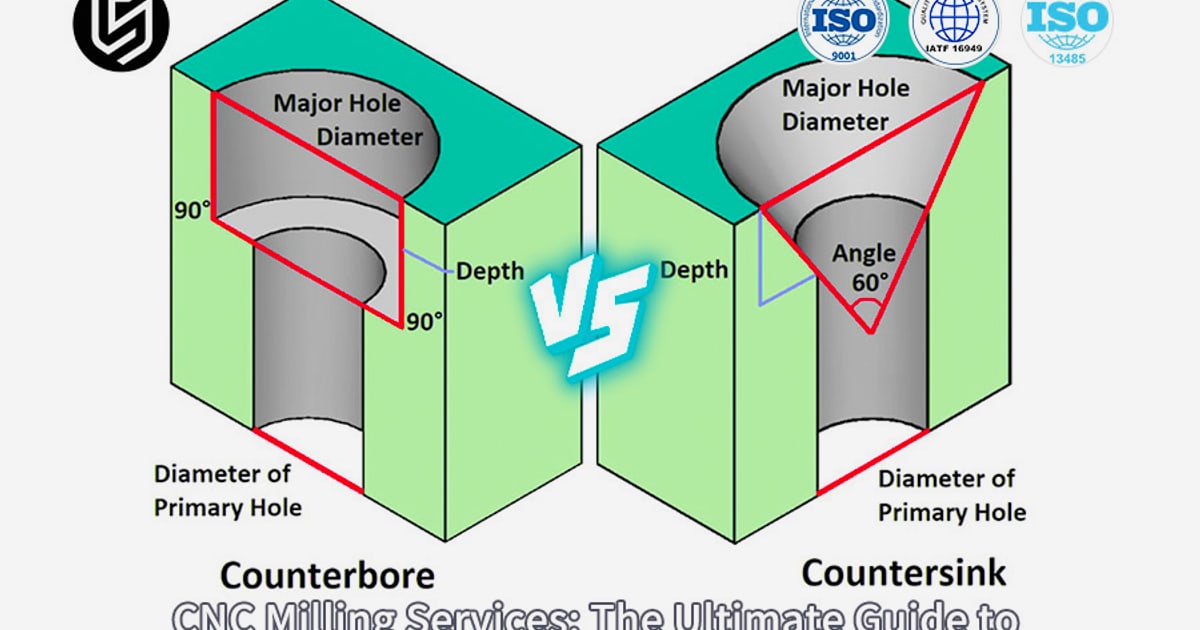
How to Use Machined: A Practical Beginner's Guide - What "Machined" Means in Practice.
A machined item is shaped by controlled cutting, drilling, turning, or milling. That process gives it tight tolerances, repeatable dimensions, and a surface finish you can measure. When people ask how to use machined parts, they usually mean one of three things:
- Using a machined tool or fixture in a workshop.
- Installing a machined component into an assembly.
- Working with machined data in a design or content workflow.
Each context has its own steps, but the underlying logic is the same: understand the part, prepare the environment, operate within limits, and verify the result.
Step 1: Identify the Part and Its Specs
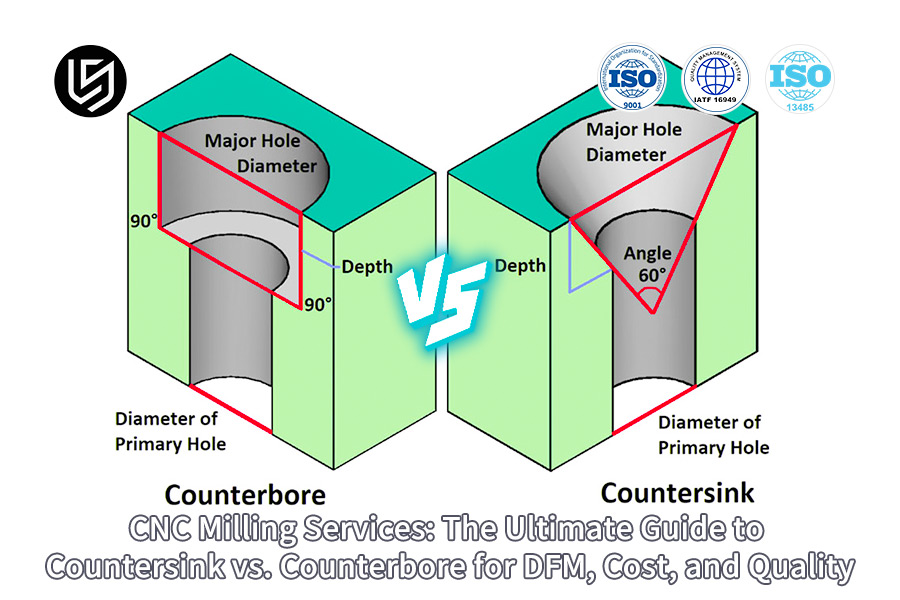
How to Use Machined: A Practical Beginner's Guide - Step 1: Identify the Part and Its Specs.
Before you touch anything, confirm what you have.
Read the drawing or datasheet
Look for:
- Material (aluminum, steel, plastic, etc.)
- Tolerances (for example, ±0.05 mm)
- Surface finish requirements
- Thread sizes and hole patterns
- Load or torque limits
If you do not have a drawing, measure the part and note critical dimensions. A cheap caliper is enough for most beginner work.
Match the part to the job
A machined bracket designed for light loads should not be used as a structural anchor. Check the intended use before installation. If the part was machined for a prototype, treat it as a prototype—not a production replacement.
Step 2: Prepare the Workspace
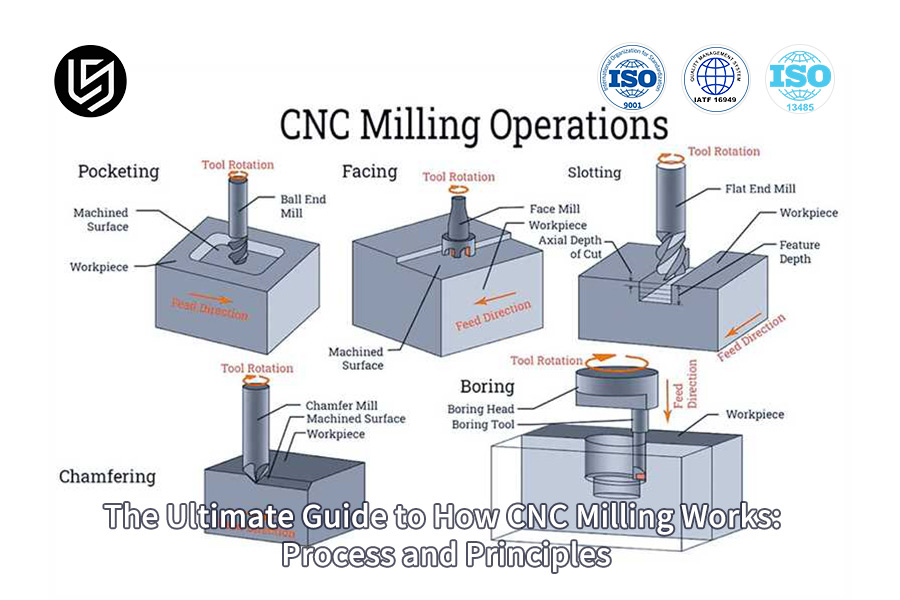
How to Use Machined: A Practical Beginner's Guide - Step 2: Prepare the Workspace.
Good results start before the first cut or bolt.
Clean and organize
- Clear the bench or machine bed.
- Remove chips, dust, and old lubricant.
- Keep tools within reach but away from moving parts.
Check the machine or fixture
If you are using a machine tool:
- Confirm the spindle or chuck is secure.
- Verify the workholding is tight.
- Check that guards and emergency stops work.
If you are installing a machined component:
- Confirm the mating surface is flat and clean.
- Check that fasteners match the thread and length.
Personal safety
Wear safety glasses. Tie back loose clothing. Use hearing protection if the machine is loud. Never reach into a moving setup.
Step 3: Set Up for the Operation
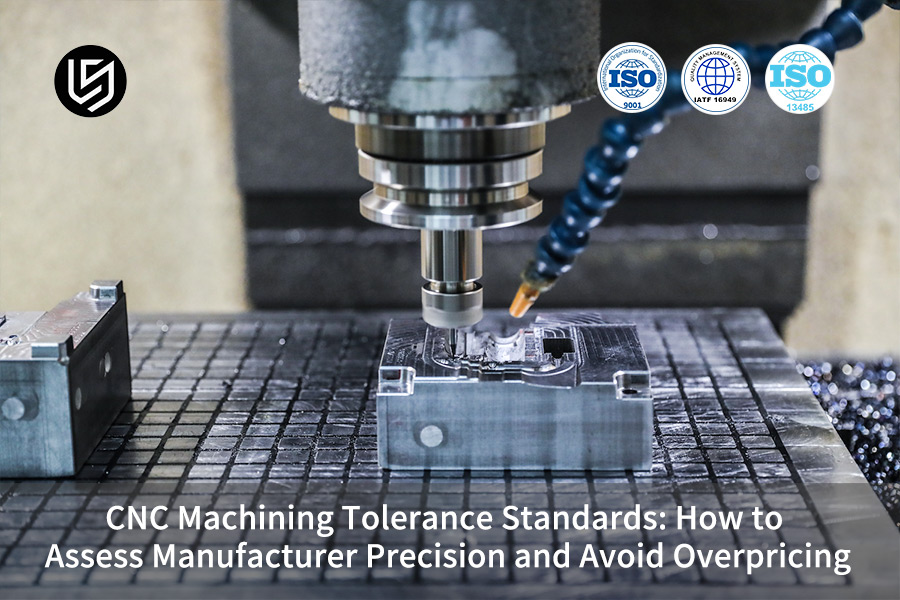
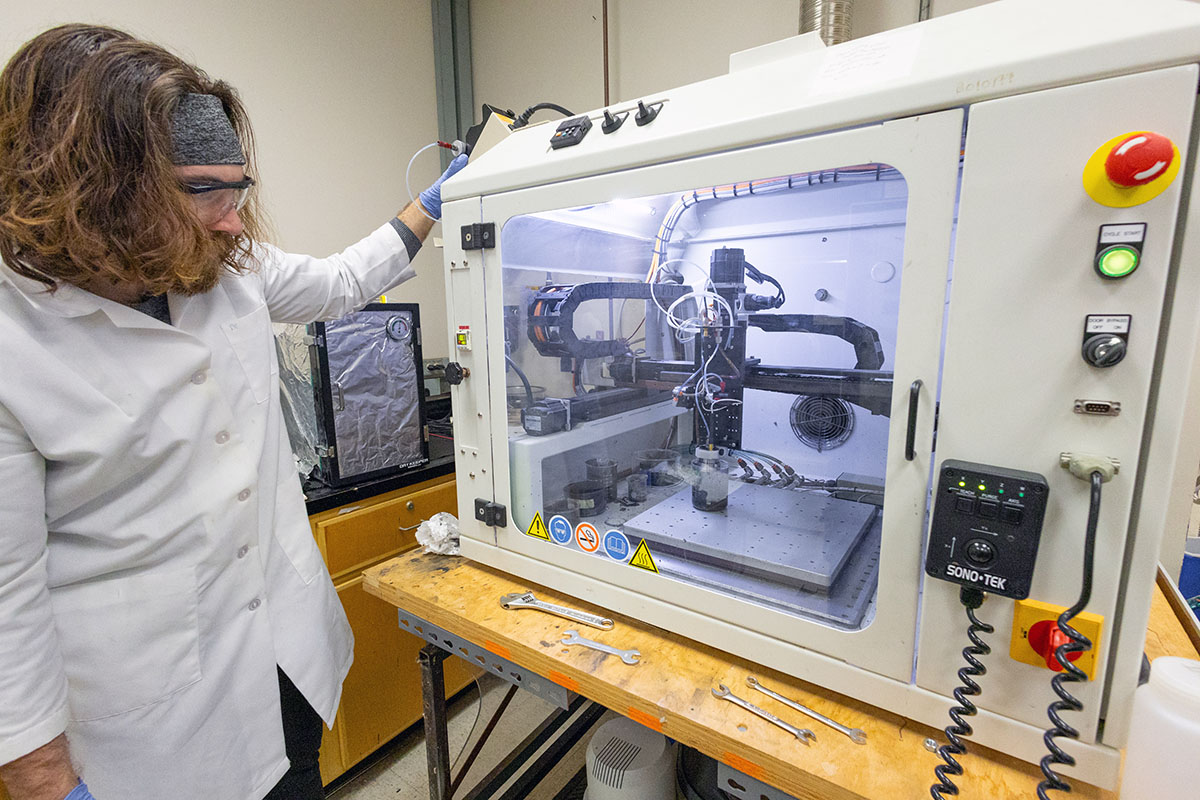
How to Use Machined: A Practical Beginner's Guide - Step 3: Set Up for the Operation.
Setup is where most beginners lose accuracy.
Align and zero
For machining operations, zero the tool to a known reference point. For assembly, align the part to its mating feature before tightening.
Choose the right parameters
- Speed and feed: Start conservative. Increase only when the cut is stable.
- Torque: Use a torque wrench for critical fasteners. Do not guess.
- Clamping force: Tight enough to hold, not enough to deform.
Do a dry run
Move the tool or part through the motion without cutting or final tightening. This catches collisions and misalignment early.
Step 4: Operate with Control
Once setup is verified, operate steadily.
For machining
- Feed the tool smoothly.
- Listen for chatter or unusual noise.
- Stop if the surface finish degrades.
For assembly
- Tighten fasteners in a cross pattern when possible.
- Check alignment after each stage.
- Do not force a part that does not fit; investigate instead.
For digital workflows
If you are managing machined parts in a content or product system, treat the data like a physical part: verify the source, check the version, and confirm the output matches the spec. Tools like AgentBooks can help teams document and publish technical content consistently, but the same rule applies—garbage in, garbage out.
Step 5: Inspect the Result
Inspection is not optional.
Visual checks
- Look for burrs, scratches, or cracks.
- Check that edges are deburred.
- Confirm the surface matches the expected finish.
Dimensional checks
- Measure critical dimensions with calipers or micrometers.
- Compare against the drawing.
- Record the results.
Functional checks
- Does the part fit?
- Does it move or hold as intended?
- Does it survive a light load test?
If something is off, stop and correct it before moving on. For more on building reliable technical content around these checks, see Topical Authority: How to Build It and Rank Higher.
Step 6: Maintain and Store Machined Items
Machined parts last longer with basic care.
- Clean after use: Remove chips and coolant.
- Protect surfaces: Apply a light oil to bare metal.
- Store properly: Keep parts in labeled bins or on protected shelves.
- Track wear: Note when a tool or fixture starts losing accuracy.
For teams, a simple maintenance log prevents surprises. If you are scaling documentation, Enterprise Content Automation: A Practical 2026 Guide covers how to keep records consistent.
Machined vs Cast vs 3D Printed: When to Choose What
| Method | Best for | Watch out for |
|---|---|---|
| Machined | Tight tolerances, small batches, strong parts | Higher cost per unit at volume |
| Cast | Complex shapes, large volumes | Longer lead time, tooling cost |
| 3D printed | Prototypes, custom one-offs | Weaker layer lines, looser tolerances |
If you need a part that fits precisely and can take load, machined is often the right call. If you need thousands of identical complex shapes, casting may win. If you are testing an idea, printing is fastest.
Common Mistakes and How to Avoid Them
- Skipping setup checks: Always verify alignment and clamping.
- Using the wrong fastener: Match thread, length, and material.
- Ignoring tolerances: A part that is "close enough" may fail under load.
- No inspection: Measure before you assemble.
- Poor storage: Rust and dents ruin precision.
Related reading
- Yoast SEO Tutorial: Setup, Settings & On-Page Optimization - A practical Yoast SEO tutorial: install the plugin, run first-time configuration, connect Search Console, and optimize posts with the SEO and readability analysis.
- AgentBooks Free Trial: What You Get and How to Start - AgentBooks free trial explained: what the free Starter plan includes, how to start, what to test, and how it compares with paid AI content tools.
Sources and further reading
- How to Use Basic Gym Equipment (Beginner's Full Body Workout) | SELF - In this full body workout with trainer Amy Kiser Schemper, you’ll learn everything you need to know about basic gym equipment to start your gym journey. Stil...
- 30-Minute Gym Machine Workout Routine for Beginners - Gold's Gym - Walking into a gym can feel confusing for a beginner. Rows of machines. Seats and pins to adjust. You want a plan that shows where to start. This 30-minute
- How To Use Gym Equipment: A Beginner’s Guide - New to the gym? Learn how to use gym equipment correctly with this beginner-friendly guide and step into the gym with confidence!
FAQ
What is the first step in using a machined part?
Identify the part and read its specs or drawing. Confirm material, tolerances, and intended use before setup.
Do I need special tools to use machined components?
Basic hand tools, a caliper, and a torque wrench cover most beginner tasks. For machining, you need the correct cutters and workholding.
How do I know if a machined part is safe to use?
Inspect for cracks, burrs, and deformation. Check dimensions against the spec. If it is a load-bearing part, follow the manufacturer's rating.
Can I machine a part at home?
Yes, with the right machine and safety setup. Start with soft materials like aluminum or plastic and conservative parameters.
How do I maintain machined tools?
Clean them after every use, oil bare metal surfaces, and store them in a dry, protected place.
Conclusion
Using machined parts and tools well comes down to preparation, control, and verification. Identify what you have, set up carefully, operate within limits, and inspect the result. Whether you are working in a workshop or managing technical content about machined products, the same discipline applies. Start with one part, follow the steps, and build from there.