Yoast SEO Setup: The Complete First-Time Configuration Walkthrough
Setting up Yoast SEO correctly from day one saves you from messy redirects, broken structured data, and inconsistent search snippets later. This guide walks through every major settings area in the plugin—from first-time configuration and site representation to content types, advanced options, and on-page optimization—so you can move through the setup with confidence.
Why Yoast SEO Setup Matters
Yoast SEO Setup: Complete First-Time Configuration Guide - Why Yoast SEO Setup Matters.
Yoast SEO is more than a green-light checker. Its global settings control how your site presents itself in search results, which pages get indexed, how structured data is generated, and how your content appears on social platforms. A rushed setup often leads to:
- Duplicate or thin attachment pages competing in search results
- Missing organization or person schema, which weakens knowledge graph eligibility
- Inconsistent title and meta description templates across posts and pages
- Unverified site connections that delay search console data
Taking 30–45 minutes to configure the plugin properly gives every future post and page a solid technical foundation.
Step 1: Install and Activate Yoast SEO
Yoast SEO Setup: Complete First-Time Configuration Guide - Step 1: Install and Activate Yoast SEO.
Before configuring anything, make sure the plugin is installed correctly.
Automatic Installation via WordPress Dashboard
- In your WordPress dashboard, go to Plugins → Add New Plugin.
- Search for "Yoast SEO" in the search bar.
- Click Install Now, then Activate.
Manual Installation via ZIP File
If your hosting environment blocks automatic installs, download the plugin ZIP from the official Yoast SEO installation guide and upload it through Plugins → Add New Plugin → Upload Plugin.
After activation, a new Yoast SEO menu appears in your dashboard sidebar. This is where all global configuration happens.
Step 2: Run the First-Time Configuration
Yoast SEO Setup: Complete First-Time Configuration Guide - Step 2: Run the First-Time Configuration.
Yoast SEO includes a dedicated First-time configuration tab under Yoast SEO → Settings. Complete this before touching individual post settings.
The first-time configuration wizard asks for:
- Site name and tagline: Used in title templates and knowledge graph data
- Organization or person representation: Determines the primary schema type for your site
- Social profiles: Links to your official social accounts, which can appear in the knowledge graph
- Search engine visibility: Whether you want search engines to index the site immediately
This step activates Yoast's indexables technology, which builds an optimized internal data structure for your content. On sites with thousands of posts, this initial optimization may take several minutes—let it finish before moving on.
Step 3: Configure Site Basics and Representation

Yoast SEO Setup: Complete First-Time Configuration Guide - Step 3: Configure Site Basics and Representation.
Under Yoast SEO → Settings → General → Site basics, set the foundational identity fields.
Site Info
- Website name: The primary name shown in search results
- Alternate website name: A shorter variant Google may display when space is tight
- Tagline: A brief description of what your site does
- Title separator: The symbol between your page title and site name (e.g.,
–,|,—) - Site image: Used as a fallback for social sharing and schema
Site Representation
Choose whether your site represents an organization or a person. This decision feeds directly into Yoast's structured data output:
| Option | Best for | Schema type generated |
|---|---|---|
| Organization | Businesses, agencies, e-commerce stores, SaaS companies | Organization schema with logo, contact info, social profiles |
| Person | Personal blogs, portfolios, author-driven sites | Person schema with name, social profiles, image |
For most commercial sites, Organization is the correct choice. If you run a personal brand where your name is the product, choose Person.
Site Connections
Connect your site to search engine webmaster tools directly from the Site connections section. Yoast supports verification for:
- Google Search Console
- Bing Webmaster Tools
- Baidu Webmaster Tools
- Yandex Webmaster Tools
Connecting these tools gives you search performance data inside the Yoast dashboard and speeds up indexing for new content.
Step 4: Configure Content Type Settings
The Content types section controls how different parts of your site appear in search results. You'll see entries for Homepage, Posts, Pages, and any custom post types your theme or plugins register (products, courses, videos, etc.).
Homepage Settings
Under Content types → Homepage, configure:
- SEO title template: Default variables like
%%sitename%% %%page%% %%sep%% %%sitedesc%% - Meta description template: A compelling summary of your site's purpose
- Social title and description: Used when your homepage is shared on Facebook or X
- Social image: The image shown in social previews
Posts and Pages Settings
The Posts and Pages sections share a similar structure:
- Show in search results: Toggle whether this content type should be indexed
- SEO title template: Controls the default title format for all posts or pages
- Meta description template: The fallback description when a post lacks a custom one
- Schema settings: Default article type (Article, BlogPosting, NewsArticle, etc.)
- Yoast SEO sidebar toggle: Whether the SEO meta box appears in the editor
A common setup for posts uses the template %%title%% %%page%% %%sep%% %%sitename%%, which puts the post title first—usually the strongest signal for click-through.
Categories and Tags
For taxonomies, decide whether category and tag archive pages should appear in search results. Many sites benefit from indexing category pages when they serve as topic hubs. Tag archives, however, often create thin content and are better set to noindex unless your tag structure is carefully curated.
Step 5: Review Advanced Settings
The Advanced section contains several high-impact options that are easy to overlook.
Crawl Optimization (Premium)
Available only in Yoast SEO Premium, crawl optimization lets you remove unnecessary URLs from search engine crawling—like REST API links, shortlink redirects, and emoji scripts. This reduces crawl waste and can improve indexing efficiency for large sites.
Breadcrumbs
If your theme supports Yoast breadcrumbs, configure the separator, anchor text for the homepage link, and taxonomy hierarchy. Breadcrumbs improve internal linking structure and can appear as rich results in search snippets.
Archives
Yoast lets you control author, date, and format archives separately. For single-author blogs, disabling author archives prevents duplicate content issues. Date archives are rarely useful for evergreen content and are often disabled.
Media Pages
WordPress automatically creates attachment pages for every uploaded image—thin pages with almost no content. Yoast recommends redirecting attachment URLs to the media file itself. Enable this setting under Advanced → Media pages to eliminate a common source of low-quality indexed pages.
RSS Settings
Scraper sites often republish RSS feeds without attribution. Yoast's RSS settings add a link back to your original post at the end of every feed item, helping search engines identify your site as the canonical source.
Step 6: Enable Schema and llms.txt Features
Two newer settings deserve attention during setup.
Schema Framework
Under Advanced → Schema, enable the Schema Framework to let Yoast automatically build a connected schema graph for your site. This links your organization data, breadcrumbs, and article schema into a single coherent structure that search engines can parse more effectively.
llms.txt
Yoast now supports generating an llms.txt file—a plain-text index of your site's key pages designed for large language models. Under Advanced → llms.txt, you can enable the feature and choose between automatic page selection or manual curation. This helps AI systems understand your site's structure and prioritize important content.
Step 7: Optimize Individual Posts and Pages
Global settings create the foundation, but on-page optimization happens at the post level. When editing any post or page, scroll to the Yoast SEO meta box below the editor.
Focus Keyphrase
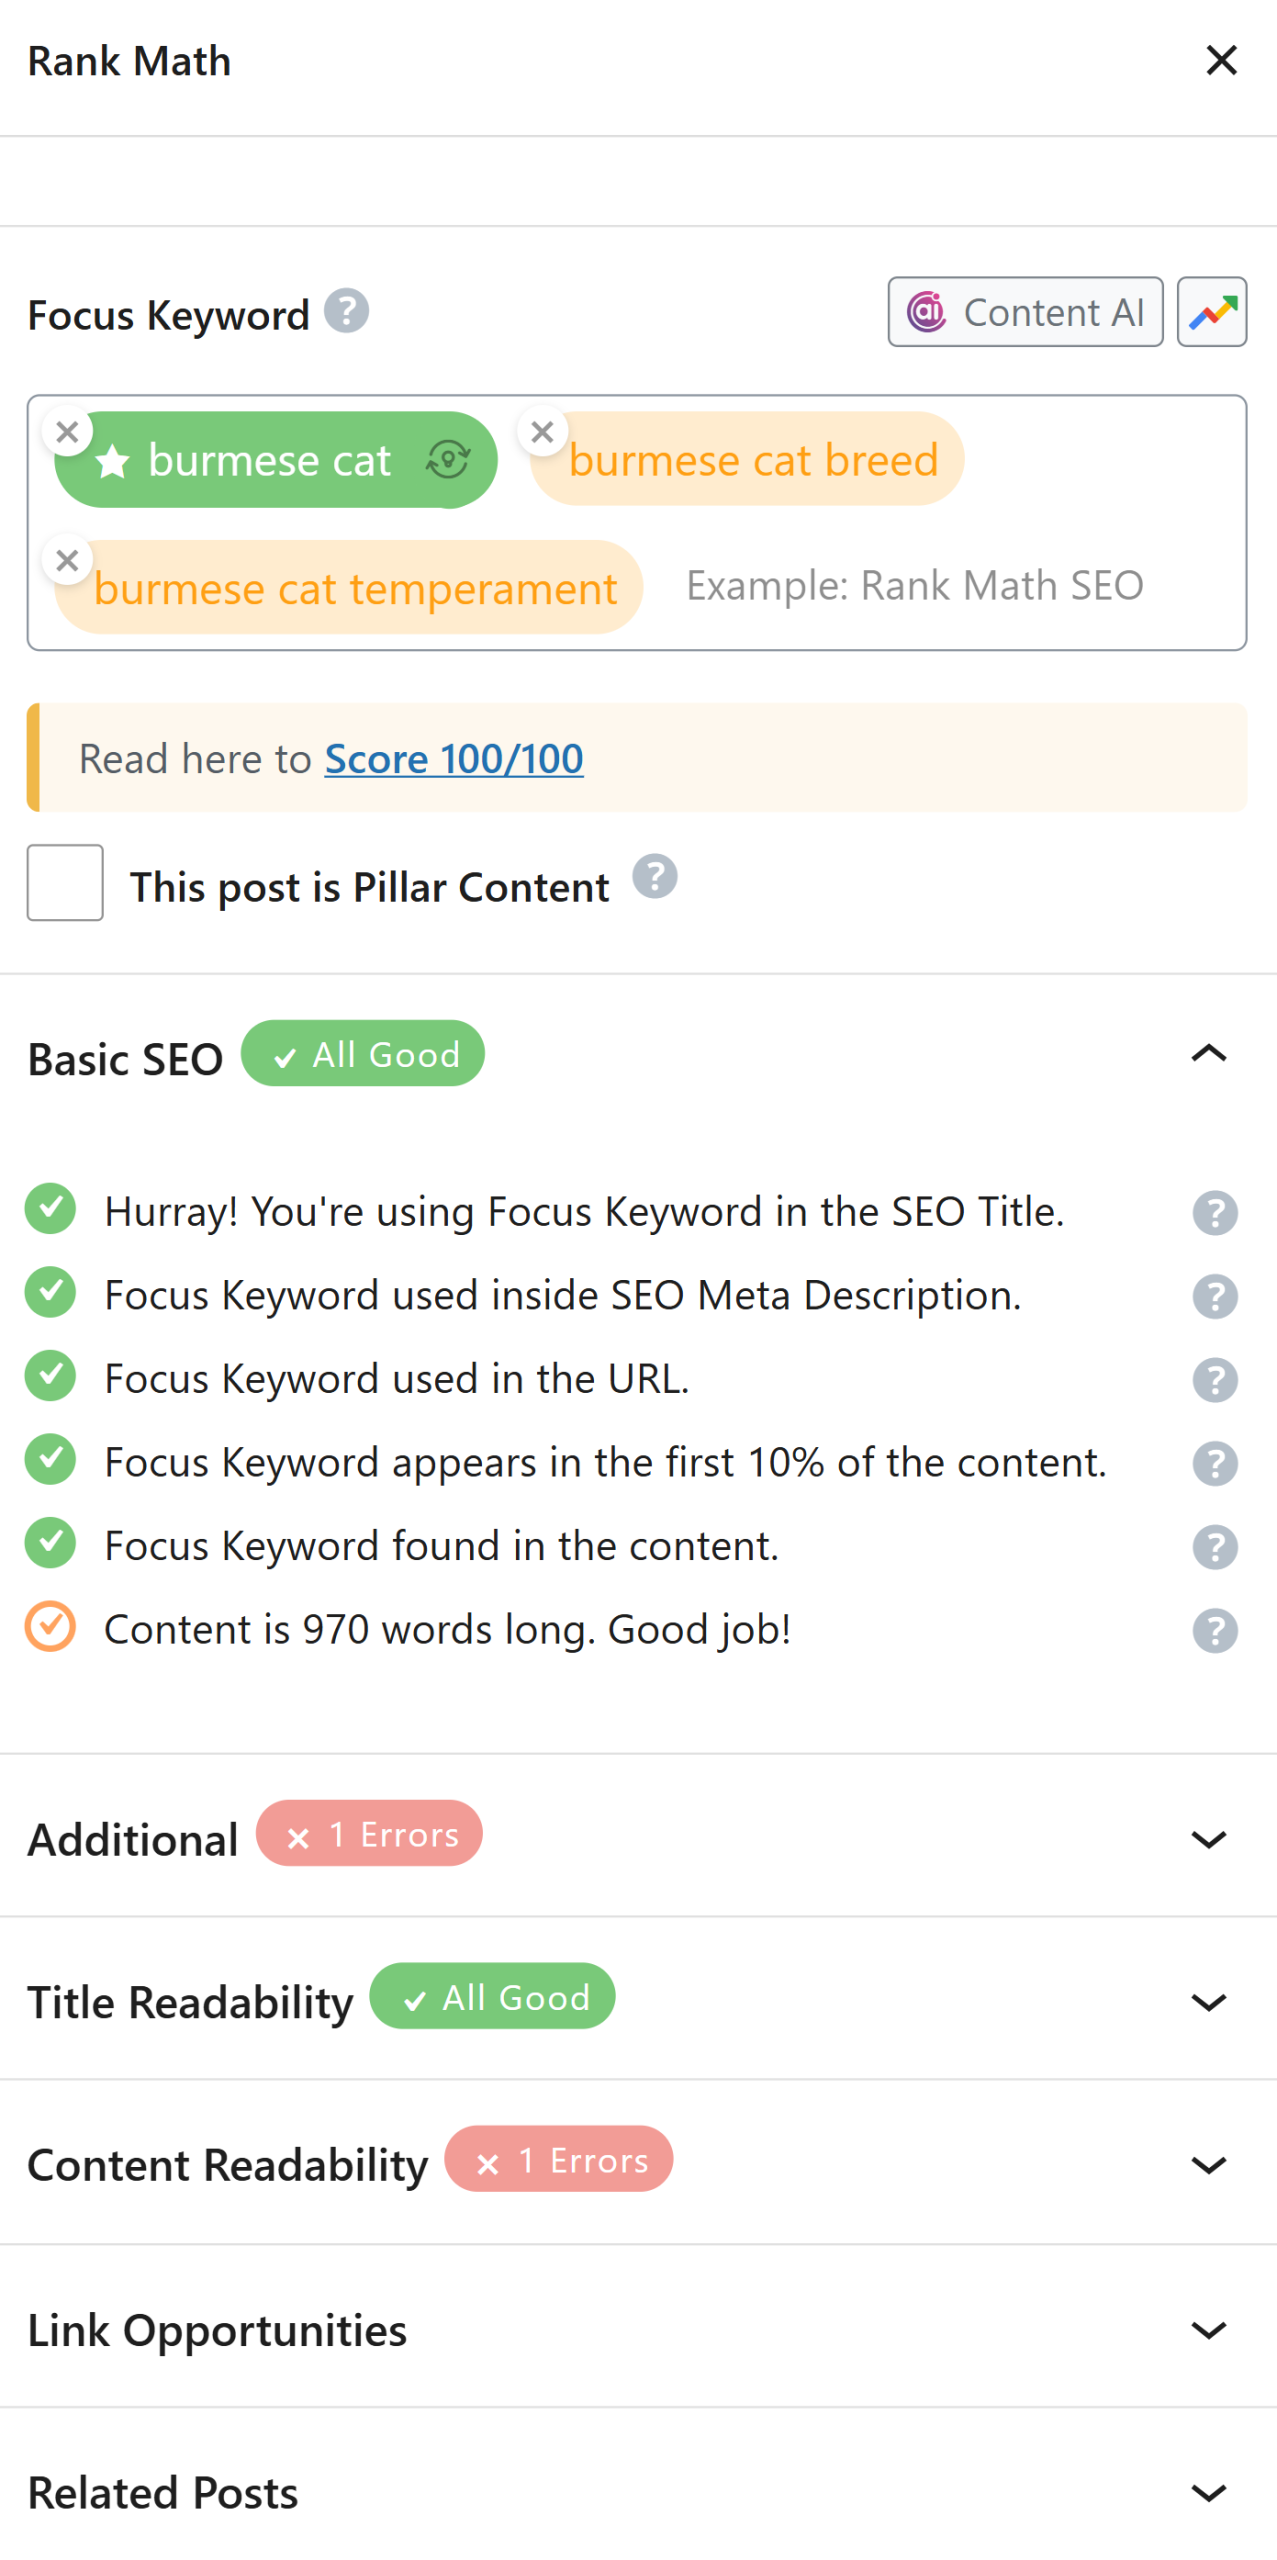
Enter the primary keyword for the page. Yoast analyzes your content against this keyphrase and provides feedback on:
- Keyphrase density and placement
- Presence in title, meta description, URL slug, and first paragraph
- Use in subheadings and image alt text
SEO Title and Meta Description
Craft a unique title under 60 characters and a meta description under 155 characters. Include your focus keyphrase naturally—not stuffed—and write for the human reader who sees the snippet in search results.
Readability Analysis
Yoast's readability checks evaluate sentence length, paragraph length, passive voice usage, and transition words. While not a direct ranking factor, readable content tends to earn longer dwell time and more shares, which indirectly supports rankings.
Schema Selection
For each post, choose the appropriate schema type: Article, BlogPosting, or NewsArticle. For pages, select WebPage or a more specific type if applicable.
Yoast SEO Setup Checklist
Use this quick reference to verify your configuration is complete:
- Plugin installed and activated
- First-time configuration completed
- Site name, tagline, and separator set
- Organization or person representation selected
- Social profiles linked
- Google Search Console and Bing Webmaster Tools connected
- Homepage title and meta description templates configured
- Posts and pages title templates reviewed
- Category and tag indexing decisions made
- Attachment URL redirect enabled
- Schema Framework activated
- llms.txt configured (optional)
- Focus keyphrase workflow tested on one post
Yoast SEO Setup vs. Automated Content Growth
Yoast SEO handles the technical and on-page optimization layer of WordPress SEO. It tells you when a page is optimized, flags missing keyphrases, and manages schema output. What it doesn't do is generate the content itself.
That's where the workflow splits. If you're producing content manually, Yoast's feedback loop works well: write, check the analysis, adjust, publish. But if your content pipeline stalls—running out of topic ideas, waiting on draft approvals, or losing brand voice across multiple writers—the bottleneck isn't optimization; it's production.
Platforms like AgentBooks approach the problem from the opposite direction. Instead of analyzing content after it's written, AgentBooks learns your product, researches what's ranking, and continuously publishes useful content in your brand voice. The two approaches can coexist: AgentBooks handles topic planning and draft generation at scale, while Yoast SEO ensures each published piece meets technical SEO standards. For a deeper look at how AI agents reshape content workflows, see this practical guide to agentic marketing.
If you're evaluating Yoast's paid tiers alongside other tools, check out this breakdown of Yoast SEO pricing to understand what each plan includes before committing.
Related reading
- QuickCreator CRM: Turn Content Into a Lead Pipeline - Learn how QuickCreator's CRM integration and Conversion Agent turn blog traffic into tracked, synced leads—and how AgentBooks compares for autonomous content growth.
- ContentBot.ai Tutorial: Automate Content Workflows Step by Step - Learn how to use ContentBot.ai in this practical tutorial: setup, AI workflows, keyword research, long-form content, and automation tips.
- How to Use Yoast SEO: A Complete WordPress Setup Guide - Learn how to use Yoast SEO step by step: first-time configuration, focus keyphrases, readability checks, schema, and advanced settings for WordPress.
Sources and further reading
- Configuration guide for Yoast SEO - Read Yoast's help article and get answers on Configuration guide for Yoast SEO
- Complete Yoast Seo Tutorial 2025 - WordPress SEO for Beginners - Free Domain With Siteground: https://www.darrelwilson.com/sitegroundIn this tutorial, you'll learn everything you need to know about Yoast SEO for beginners....
Frequently Asked Questions
How long does Yoast SEO setup take?
A thorough first-time setup takes 30–45 minutes. The first-time configuration wizard itself takes about 5 minutes, but reviewing content type templates, connecting webmaster tools, and configuring advanced settings adds time. Sites with many custom post types may need longer.
Should I use Organization or Person schema?
Choose Organization if your site represents a business, brand, agency, or e-commerce store. Choose Person if your site is a personal blog or portfolio where your individual identity is the primary entity. This setting affects the structured data Yoast outputs sitewide.
Do I need Yoast SEO Premium for a basic setup?
No. The free version covers installation, first-time configuration, content type templates, schema basics, XML sitemaps, and on-page analysis. Premium adds crawl optimization, internal linking suggestions, social preview templates for all content types, and redirect management.
What happens if I skip the first-time configuration?
Yoast SEO still works, but your schema data, title templates, and social settings will use generic defaults. Your site may lack organization schema entirely, and search snippets will fall back to WordPress defaults—which are rarely optimal.
Should I disable attachment pages?
Yes, in most cases. Attachment pages are thin content pages WordPress creates for every uploaded image. Redirecting them to the media file itself removes low-quality pages from search results and consolidates any link equity.
Can I change settings after the initial setup?
Absolutely. Every setting in the Yoast SEO menu can be revisited and adjusted at any time. The first-time configuration is not a one-way process—you can return to it whenever your site's identity or goals change.
Conclusion
Yoast SEO setup is a one-time investment that pays dividends on every piece of content you publish. Start with installation and first-time configuration, then work through site basics, representation, content types, and advanced settings. Finish by testing the on-page workflow on a single post to confirm the focus keyphrase analysis and schema output work as expected.
Once the technical layer is solid, the real growth lever becomes consistent, high-quality content production. Whether you write manually with Yoast's feedback loop or pair it with an autonomous content platform like AgentBooks, the goal is the same: a technically sound site that publishes useful content search engines and readers both reward.